TOOLING FIXTURES
WELDING SYSTEMS
SYSTEM INTEGRATION
Coordinate Measuring Machines (CMM) are used to gauge and collect measurements of the physical characteristics of an object. CMMs are comprised of a structure capable of moving in three dimensions to scan, capture, and digitize a part’s attributes. Our CMMs are capable of gathering information with a human operator or Direct Computer Control (DCC). When we need to engineer and create parts with utmost precision, the highly accurate measurements provided by CMMs are invaluable.
Gable Manufacturing uses three different types of CMM systems, each with its own advantages depending on the specific application. Based on the specifics of the job, our specialists take great care in choosing the scanner that will yield the best results for your specific needs. The scanner types we use are Laser Scanners, Light Scanners, and Analog Scanners.

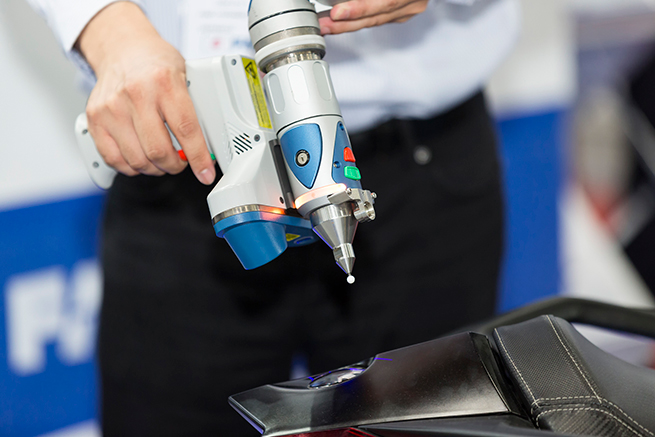
Laser scanners are often used because they offer more flexibility than any other non-contact method of scanning. They can be mounted directly onto a CMM, attached to portable measuring arms, or used manually with a steady hand. Mounted or handheld, laser scanners can measure all sides of a component with a high level of accuracy, but we normally attach our laser scanners to CMMs to ensure the most accurate measurements. Machines allow the operator to perform other tasks as the laser scan is taking place.
Laser scanners are also renowned for the rapid speed at which they scan. Analog touch probe systems are much slower, making them not ideal for scanning large amounts of parts. When using a laser scanner mounted on a CMM, the scanned dimensions are nearly identical to those of the original CAD file. Additionally, CMM-mounted laser scanners are well-suited for scanning different features on reflective or multi-material surfaces. Many CMMs are designed specifically to accommodate laser scanners, and our CMMs are able to switch out laser scanners for other measurement devices if needed.
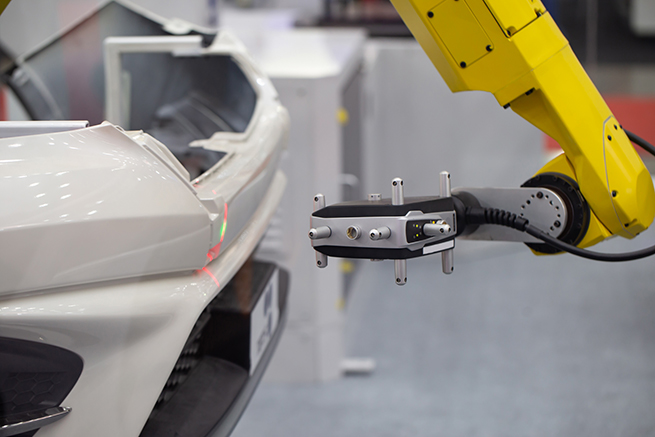
Structured light scanners are the fastest non-contact data accumulation method. Faster than lasers, they are well-suited for scanning smaller parts or large batches of the same part. These scanners utilize high resolution optical sensors to calculate the measurements of a component. After being programmed, their operation engages automatically. Millions of pixels are analyzed almost instantly by the advanced sensors, creating rapid, accurate scans of parts.
The two primary types of light scanners are White Light and Blue Light scanners. Your typical white light scanners are able to conduct scans with accuracy up to 0.001 of an inch. Light scanners can often detect more details with a higher level of accuracy than laser scans, making them a popular choice when a virtual model with the exact same dimensions is needed for a project. As a result, white light scanners are best suited for scanning parts like tools and dies, molded or cast parts, turbine blades, and sheet metal components. After the process is completed, the scanned component is translated into a 3D CAD model.
Our blue light scanners a handful of advantages over white light scanners. The bulbs in white light scanners are proprietary and generally have a short lifespan. Performance can noticeably decrease partway through the bulb’s lifespan, necessitating early replacement. Blue light scanners utilize LEDs which have a much longer lifespan and minimize the risk of light temperature affecting the scan. Another advantage is that components can be scanned within a well-lit room without other light sources interfering with the scan, since the scanners’ lenses are designed to only detect the specific wavelength emitted by the scanner.
It is vital to remember that there is no scanning instrument suited for every situation. Blue light scanning does have a few disadvantages. Highly reflective surfaces can interfere with the scanner’s ability to read the surface. In order to rectify this issue, a very thin layer of paint or powder is applied to the component to scatter the light. This can sometimes affect the scan, depending on the skill of the person applying the material. Certain colors such as red cannot be read well by the scanner, which can be mitigated by the aforementioned coating process. Larger components with very small features can also create issues with the accuracy of the collected data. Larger lenses need to be used when a large part is being scanned. As a result, smaller features tend to get washed out from the digital image.
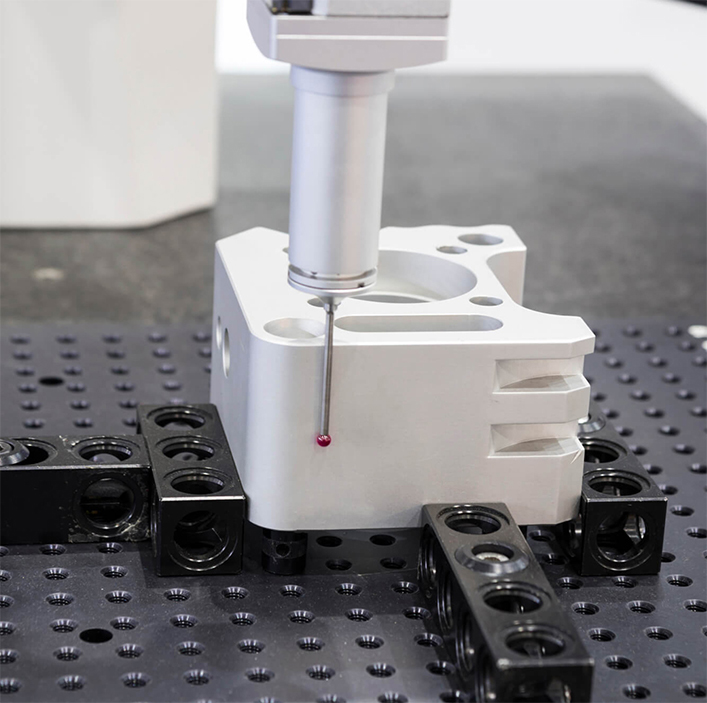
The vast majority of CMMs out there are equipped with analog touch probe scanners, or touch trigger probes. After decades of experience in metalworking, we’ve found that fixed touch probe CMMs can gather measurements and data with an extremely high degree of accuracy, down to 0.0001”. Touch probes are made up of a stylus attached to a metal shank. Affixed to the other end of the stylus is a ruby ball, which is what makes contact with the part being measured. When attached to the CMM, the probe makes direct contact and moves along the physical area of the part to gather tactile data.
The stylus deflects as it is pushed against the part it is measuring. Inside the head of the probe are a series of balls and rollers that not only allow the stylus to push away from the part, but also send a signal to the CMM once a certain pressure threshold is exceeded. At this point, the probe stops and records the data.
Light-based scanning options may potentially include unnecessary and inaccurate noise in their measurements, a detriment easily circumvented with the use of touch probes. Since the probes can be mounted on angled or straight extensions, we can review the dimensions of specific areas that may otherwise remain unread by light-based scanners, such as deep holes within a part.


Handheld inspection tools can only be so accurate. Not to mention that manual inspection can cut into production time, especially when a large parts run is being manufactured at that time. By using CMMs, we can provide fast, accurate measurements of parts during all stages of production. That's why At Gable Manufacturing, we combine our abilities as a high quality metal fabricator with our advanced CMM inspection services to create products that meet or exceed the needs of our customers.
No matter how large or complex and object’s physical features are, CMMs can easily verify the measurements to make sure the part is in spec.